Flow dividers are much more complex products than pumps and motors, so it is important to know how they work and know their characteristics to avoid installation mistake that can lead to problems such as, for example, equipment failure.
To let a flow divider work at its best performances, it is extremely important it is correctly adjusted: in this article we’ll see together how to adjust the pressure valve in the flow dividers of the RV-0S and RV-1S series.
First, however, a brief overview of this product.
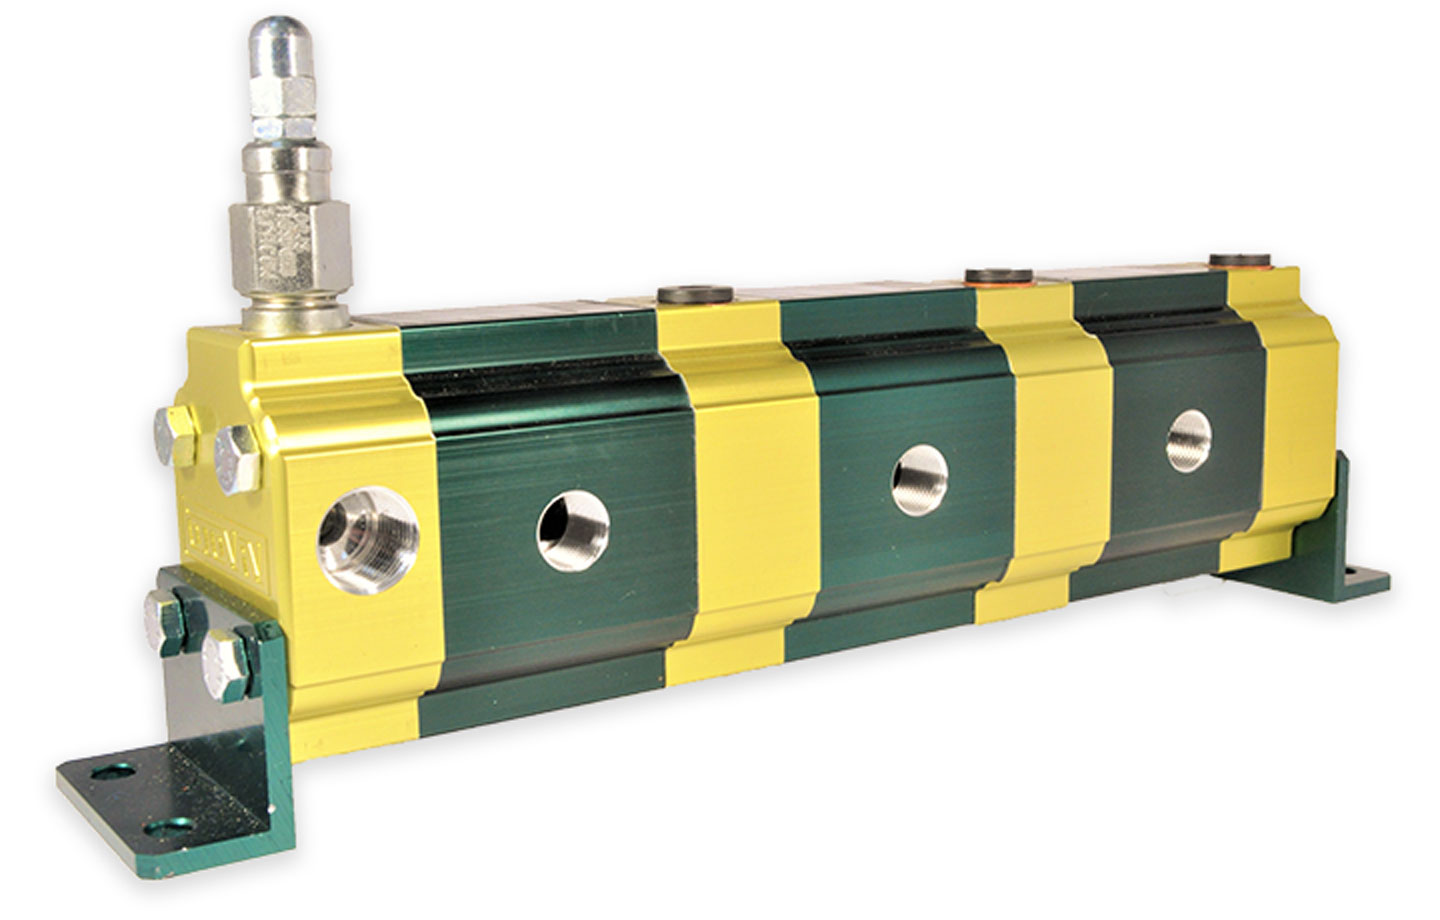
Flow dividers with single phase correction valve: functions and features
Single valve flow divider is one of the Vivoil’ s flow dividers you can choose from. Other models available are: the flow divider without valves, the one with multiple rephasing and anti-cavitation valves, and the MIA-FD self-compensated flow divider. To learn more, you might be interested in this article on how to choose a flow divider.
The single valve model is used to divide the oil flow, or to unify the flows to regulate the different oil flow rates or you can use it to multiply the pressure.
Compared to the model with multiple valves, it is easier to adjust: as we will see shortly, in fact, it is enough to act on the only valve present to regulate all the elements.
How to adjust the valve on RV-0S and RV-1S series dividers
These series of flow divider have a single valve that allows you to adjust all the elements at the same time, in a simple way.
To avoid mistakes, follow these steps:
- Mount the pressure gauge on the pressure outlet
- Plug an out port of the flow divider and leave the other elements unloaded
- Remove the protection nut on the valve and loosen the locknut
- Adjust the maximum pressure using the hexagonal set screw
Important: before proceeding make sure that the setted pressure is lower at least 10-20 bar than the pressure of the main relief of the circuit
- Tighten the locknut, being careful not to change the position of the adjusting screw
- Screw the blind nut back on
- Remove the pressure gauge and plug this thread
- Your valve is adjusted at the required working pressure!
Do you need help?
Our sales department is here to help you. Contact us, we will be happy to give you a hand!