Our customers often contact us about how to change the valve adjustment range of the Vivoil products they have purchased or have in stock. In our articles, we have already seen how valve adjustment works in multivalve flow dividers and in single-valve flow dividers. In this guide, however, we look at how to change the valve range of several components in the Vivoil range: not only flow dividers, but also pumps and hydraulic motors that include adjustable valves.
When and why to change the valve range
Changing the valve range is a useful operation in many situations, especially when:
1 – Operating conditions have changed
This is the case of those who, after ordering components on the basis of certain operating conditions, find that these are different from what was estimated or have changed over time. In fact, the valve range should be chosen according to the operating pressure of the divider, pump, or motor. For example, in the case of dividers, if it is estimated that the component will work at a pressure of 100 bar, the valve will have to be adjusted at least 20 bar more than that value. So, in this case, it will be necessary to adjust it to 120 bar.
2 – Management of products in stock
This is the case for the distributor who stocks a number of Vivoil products to be adapted according to different customer needs.
Let us now see how to change the valve adjustment range, according to the size group and product in the Vivoil range.
The steps to follow
The range of adjustment depends on the resistance of the spring inside the valve, and to change it, simply replace the spring with one of a different size.
Depending on the type of component and the size group to which it belongs, a specific procedure will need to be followed.
Change the range of LPA 10 and LPB 10 valves in Vivoil components of group 0
Here is how to change the range of the:
- LPA 10 valves used in RV-0V flow dividers,
- LPB 10 valves, which are used in RV-0S flow dividers, our pumps and motors of Vivoil group 0.
You can perform the conversion by watching this video and following these steps:
Video illustrating the steps to change the range of LPBA 10 and LPB 10 valves
- Take the valve to be modified.
- Unscrew and remove the hex nut cap and washer.
- Also unscrew the adjusting screw that holds the spring.
- Keep everything handy.
- Remove the spring.
- Take the different size spring and insert it into the valve.
- Take back the adjusting screw, insert it and screw it back in.
- Next, insert the washer again and screw the hex nut cap back on as well.
LPB 20 and LPS 20 valves in Vivoil components of groups 1 and 2
Here is how to change the adjustment range of the:
- LPB 20 valves used in our RV-1S flow dividers and in pumps and motors of groups 1 and 2,
- LPS 20 valves used in RV-1V flow dividers.
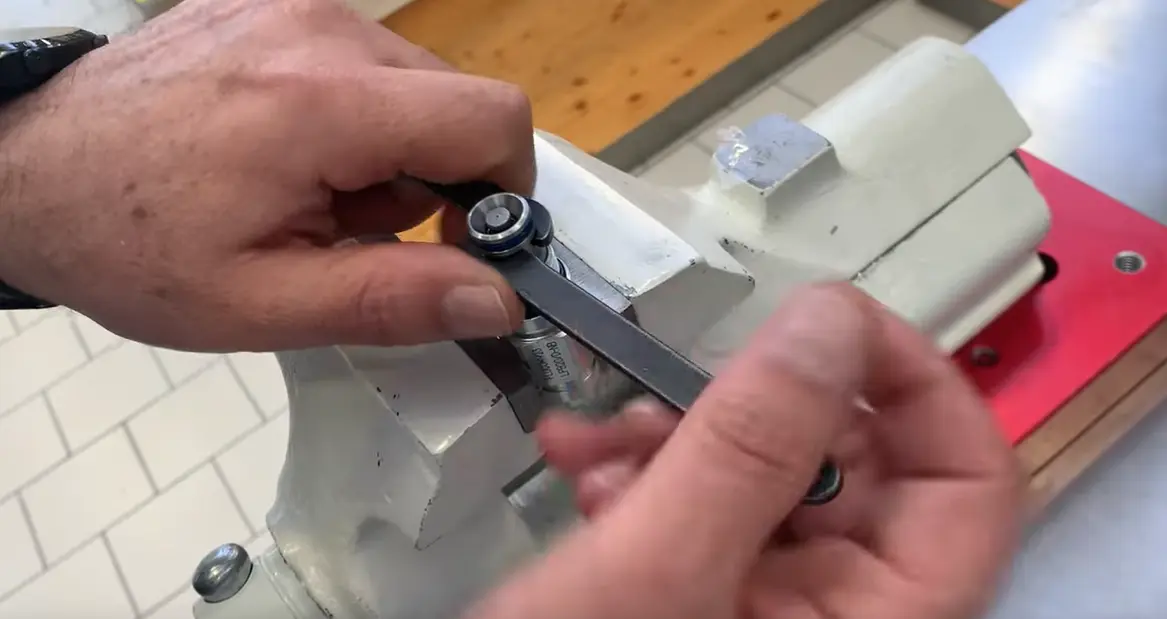
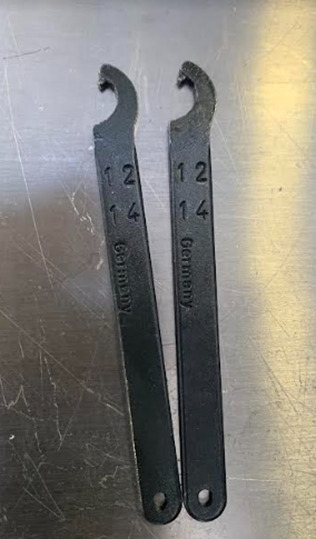
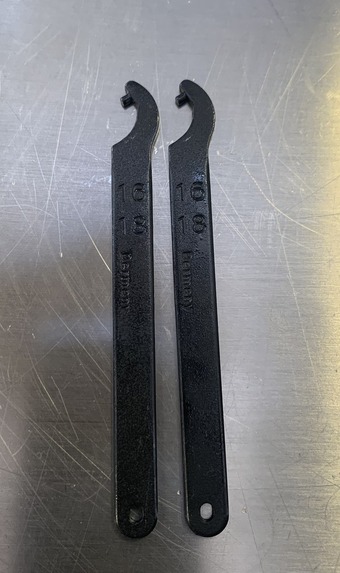
You will need a clamp, an awl, and two round-nose sector wrenches, which you can find in specialty stores. It is very important to use only such wrenches so as not to damage the valve.

You can perform the conversion by watching this video and following these steps:
Video illustrating the steps to change the range of LPB 20 and LPS 20 valves.
- Take the valve and insert it into the clamp.
- Tighten the clamp to hold the valve securely.
- Take the round-nose wrenches and hook them into the two holes on either side of the valve.
- Turn the wrenches counterclockwise to unscrew the cap.
- With the awl or other similar tool, pull out the spring located inside the valve.
- Take the different sized spring and insert it into the valve.
- Screw the cap back on by hand.
- Then complete the tightening using the round nose wrenches, turning them clockwise.
- Release the valve from the clamp.
LPA 30 and LPB 30 valves in the Vivoil components of group 3
Here is how to change the adjustment range of the:
- LPA 30 valves used in our RV-2V flow dividers,
- LPB 30 valves used in KV-3V flow dividers and in our pumps and motors of group 3.
You will need a clamp and two round-nose sector wrenches, which you can find in specialty stores. We recommend that you use only such wrenches so as not to damage the valve.

You can perform the conversion by watching this video and following these steps:
Video illustrating the steps to change the range of LPA 30 and LPB 30 valves
- Take the valve and insert it into the clamp.
- Tighten the clamp to hold the valve securely.
- Take the round-nose wrenches and hook them into the two holes on either side of the valve.
- Turn the wrenches counterclockwise to unscrew the cap.
- Pull out the cap and then the plug.
- Insert the plug into the cap without changing its position and keep everything handy.
- Pull out the spring located inside the valve using one of the round-nose wrenches.
- Take the different sized spring and insert it into the valve.
- Reinsert the plug and cap, taking care to maintain the initial position.
- Manually screw the cap back on.
- Complete screwing in using the round-nose wrenches, turning them clockwise.
- Release the valve from the clamp
More advice
Valve calibration is a very simple operation. We can take care of it, at Vivoil, by performing a pre-adjustment (in this case the offer we will send you will also include the cost of labor) or, you can perform the adjustment change yourself.
For pre-adjustment, we rely on an estimated value provided by the customer, which can differ from the actual pressure. That is why, in general, we advise our customers to change the setting directly on the application, so that all elements that contribute to determining the final pressure such as, for example, the size of the pipe, the resistance of the cylinder during movement, and any other pressure drops, are considered.
Want to change the range of a Vivoil valve and need help?
Contact our sales department. We are here to help you out!
